- Platform
- WooCommerce
- Plugin
- WordPress.org
- Last Updated
- March 7, 2022
This guide will take you step by step through how to integrate TaxJar with your WooCommerce account. With your TaxJar integration, you’ll enable real-time sales tax calculations and reporting – along with the ability to automate your filing.
Sales tax is complex, with regulations changing constantly. For a primer on the basics of sales tax, including nexus, registration, filing, reporting, calculations and more, please visit Sales Tax Fundamentals. Also, be sure to take a look at our Resource Center, with articles, webinars and videos for beginners and experts alike.
Please note that TaxJar for WooCommerce requires a TaxJar Professional subscription.
Getting Started
Installing the TaxJar WooCommerce Plugin
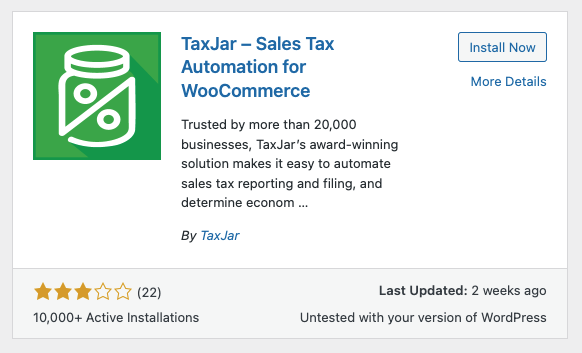
To get started, install the TaxJar WooCommerce Plugin. From the plugins page in your store’s admin dashboard, add a new plugin. Then search for “TaxJar - Sales Tax Automation for WooCommerce” and install and activate the plugin.
Connecting to TaxJar
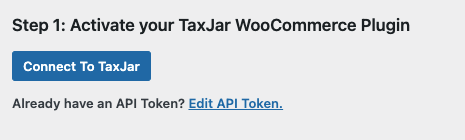
From the TaxJar settings page (WooCommerce > TaxJar), click Connect To TaxJar.
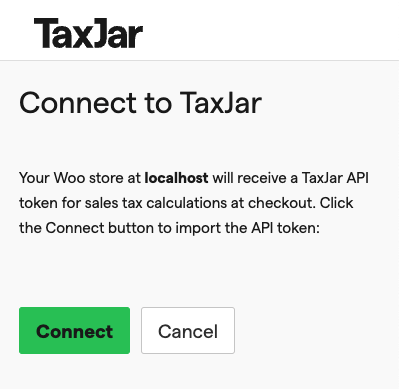
This will open up a modal where you can sign into your TaxJar account. Once signed in, click Connect to link your WooCommerce store to your TaxJar account.
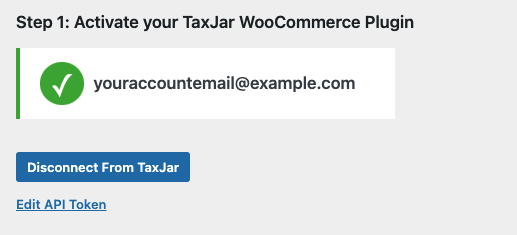
When this has completed, the TaxJar settings page will reload and you will see your TaxJar account email as connected.
Settings and Configuration
The following settings are available in the plugin:
Sales Tax Calculation
This setting controls the primary functionality of the plugin. Enabling it will trigger the plugin to sync your Nexus regions from TaxJar to your store, calculate tax in the cart/checkout and sync customer exemptions to TaxJar.
Tax Calculation on API Orders
Some WooCommerce integrations create and process orders using the WooCommerce REST API. This setting determines whether TaxJar will perform automatic tax calculation on those orders.
Save Tax Rates
The TaxJar plugin does not rely on the WooCommerce tax rate tables in order to calculate tax, rather it performs calculations in real time through the TaxJar API. There are however, WooCommerce integrations that rely on rates being stored in the table for generating reports. This setting does not affect the actual tax calculation being applied to a cart or order. It just controls whether or not the rate is stored in the tax table after the fact.
Ship From Address
This address is automatically detected from your store’s address as configured in the WooCommerce settings.
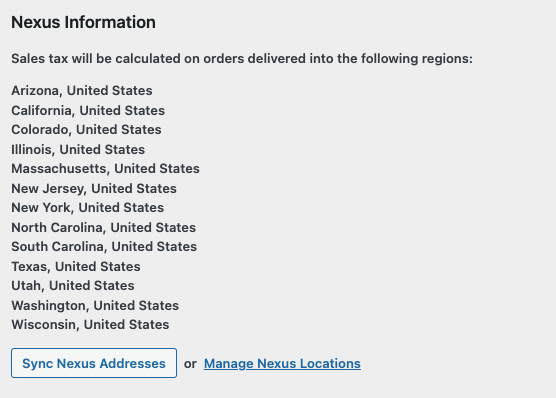
Nexus Information
After Sales Tax Calculation is enabled, the plugin will automatically sync the nexus regions you’ve configured in TaxJar into your WooCommerce store. The regions will be displayed in this section. The plugin periodically checks TaxJar for updates to your nexus regions. You can cause the plugin to immediately update your nexus regions using the Sync Nexus Addreses button.
Sales Tax Reporting
Enabling this setting causes all applicable orders and refunds from your store to be synced to TaxJar where they can be used in tax reports and filings.
Debug Log
Enabling this setting will cause the plugin write events, errors, etc. to log files.
Sales Tax Calculation
Once enabled, TaxJar will calculate tax during the cart/checkout process, when an order is created manually through the admin dashboard and when subscription renewal orders are created.
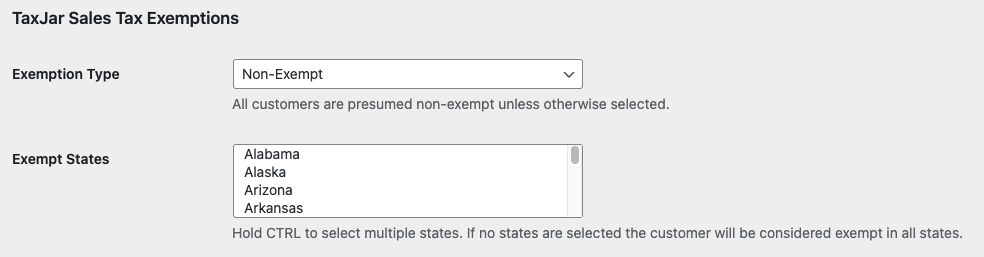
Customer Exemptions
To exempt a customer for sales tax calculations and reporting, edit the customer and set the Exemption Type and Exempt States. If an Exemption Type is set but no Exempt States then the customer will be considered exempt in all states. Once saved the customer exemption will be synced to TaxJar.
Product Categories and Exemptions
In certain jurisdictions, some product types may be taxed at a different rate (or be fully exempt). In order for TaxJar to properly calculate tax and generate reports for these products, they must be classified correctly into a TaxJar tax category.
In WooCommerce this can be done using tax classes. In order to create a tax class for a given TaxJar product category, go to WooCommerce > Settings > Tax. In the Additional tax classes section, add a line for each TaxJar product category you need to use. You need to use the following format: “Name - Code”, where “Name” is any name you would like for the tax class, and “Code” is the TaxJar product category code. For example if you sold clothing and wanted to use the applicable TaxJar category for your products you would need make the following tax class “Clothing - 20010” (20010 is the TaxJar category code for clothing).
Once the tax class has been selected, it can then be assigned to individual products. To assign a tax class, edit a product, then in the Product data meta box under the General tab, select the applicable Tax class.
Troubleshooting Tax Calculations
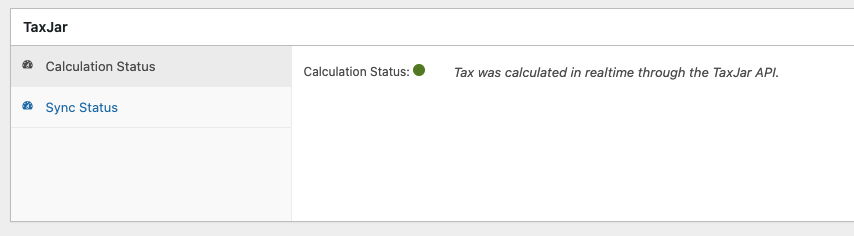
If you expected a transaction to have tax calculated but it did not, you can check the calculation status of the transaction and any errors that may have prevented the tax from being calculated in Calculation Status tab of the TaxJar metabox on an order.
Sales Tax Reporting
When the Sales Tax Reporting setting is enabled, the plugin will automatically sync transaction data from your store into TaxJar. Only orders shipped to the US, using USD, and that have reached the completed status will be synced. The sync process occurs using a queue and so there might be up to a twenty minute delay between the time an order gets to a completed status and when it will appear in TaxJar. Additionally, transactions can be manually synced on the order page in the dashboard or through transaction backfill.
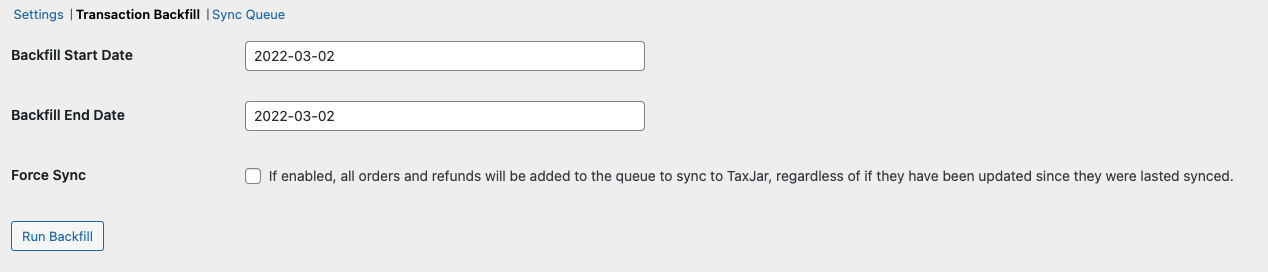
Transaction Backfill
When first installing the plugin, you may want to backfill older orders/refunds into TaxJar for any open filing periods you may have. To do this go to Transaction Backfill tab in the TaxJar settings page (WooCommerce > TaxJar). Select the date range you would like to sync and click Run Backfill. Any applicable transactions will then be added to the sync queue.
By default only previously unsynced orders and refunds will be found when using transaction backfill. If you would like to sync all orders and refunds in given time period, regardless of if they have previously synced, enable the Force Sync option.
Sync Queue
The sync queue shows the sync status of all transactions that have been enqueued. It can be found in the Sync Queue tab on the TaxJar settings page (WooCommerce > TaxJar).
Troubleshooting Transaction Sync
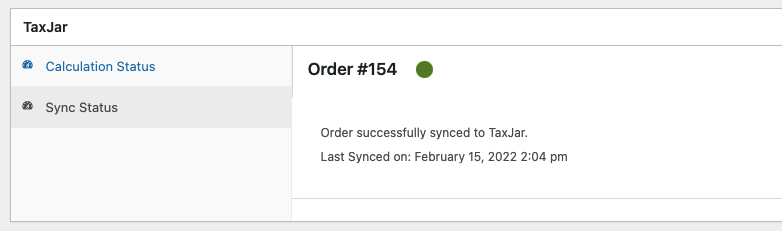
If you expected a transaction to sync to TaxJar but it has not, you can check the sync status of the transaction and any errors that may have prevented the transaction from syncing in Sync Status tab of the TaxJar metabox on an order. This also shows the status of any refunds associated with the order. If the order has successfully synced it will show the last sync timestamp. Otherwise, it will show the reason the order/refund has not yet synced.